Are you looking for information on how to carry out Google site verification for your website in South Africa or elsewhere on the continent? If yes, then this article is for you. We have just been verifying this particular site and we thought we should share the knowledge that we gathered along the way. So, how do you carry out site verification?
Google Website Verification Steps
The following are the Google site verification steps in South Africa;
- Register with Search Console
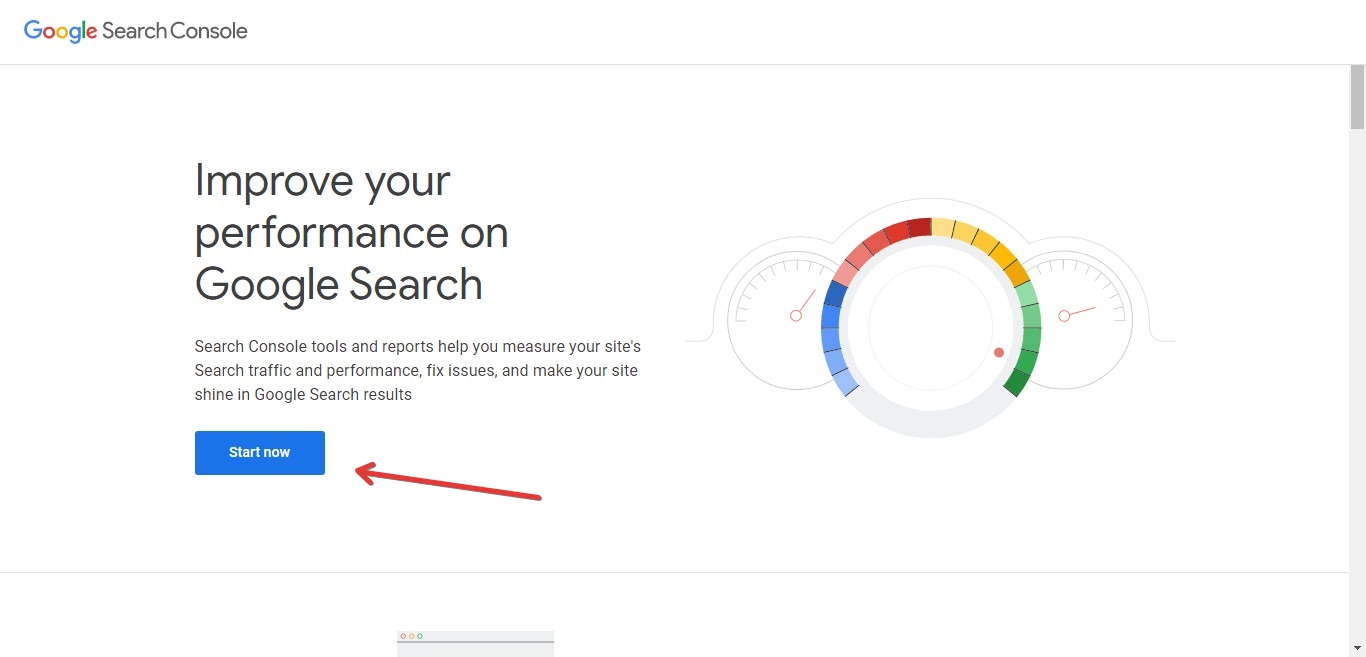
First, you are going to need to register with Search Console. If you already have a Google account, you can use that to register. Otherwise, you will have to create a new account. That won’t take you more than a few minutes, so you should be good to go in no time.

- Add a Property
Once you have logged into Search Console, you will need to add your website. To do that, click on the “Add property,” button. The “property” is your website. If you have previously added a property, click on the arrow as indicated below and then click on Add property.
- Select property type
On the next step, you have 2 options. First, you can choose to add a domain property. That’s the recommended option. It means all versions of your site will be covered. You can also choose to add a URL prefix property. That option means you will have to manually add all versions of your site; ie http, https, www etc. So, we will go with the first option.
- Verify domain ownership via DNS record
Now you will need to verify ownership of your domain via DNS record. This is the most difficult step for most people. But there is nothing really difficult here. At this point, you need to copy the TXT record in your search console. You can see what we mean below. Leave the window open as you will get back to it later.
- Add the record into your website’s DNS
Next, you will need to add the TXT record into the DNS configuration for your website. But how do you that? To do that you need to first sign into your website’s cPanel. If you don’t know how to do that, ask your host. Usually, the setup email that you got when your site was set up contains instructions on how to get to cPanel. You can also usually get to cPanel from your hosting dashboard. In cPanel, scroll down to Zone Editor under Domains.
- Click on Manage
Next, you need to click on Manage in front of the domain whose DNS you are editing.
- Add TXT record
Now you can add the TXT record that you copied from Search Console to your site’s DNS records. Click on the small arrow as highlighted below and then click on “Add TXT Record.”
- Create google site verification txt record
From there, simply add the record. You can see what we are talking about below. Under name, add your website’s domain name. Paste the record into the Record section. When done, click on Save Record.
- Click on the Verify button in Search Console
Now you will have to go back to search console to verify your site. Note that it can take several hours for changes to your DNS to apply. Sometimes, it doesn’t take even a minute, but sometimes, you will need to wait a bit. Also note that if you have CloudFlare on your site, you may need to temporarily disable it for verification to be successful.
Why Verify your Site
WordPress search console site verification is important. It’s how Google gets to know that you are the real owner of a site. Once ownership is verified, you get access to a wide range of tools and data around your site. That’s not only for Search Console, but also for other Google tools such as Analytics. So, this is important.
Thanks for reading this article. If you found it useful, participate in our forums to spread the love. Also check out our article on how to buy power hour on Vodacom.